Trip Book - Trip Selection
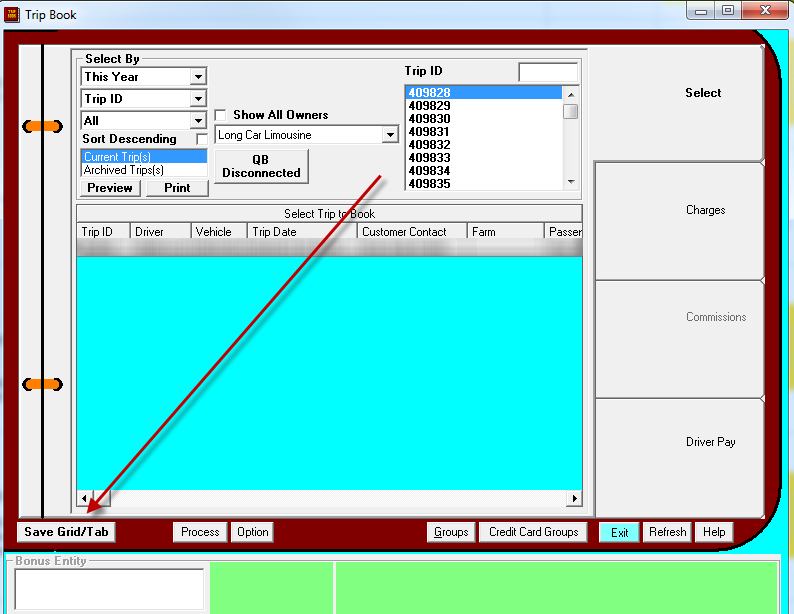
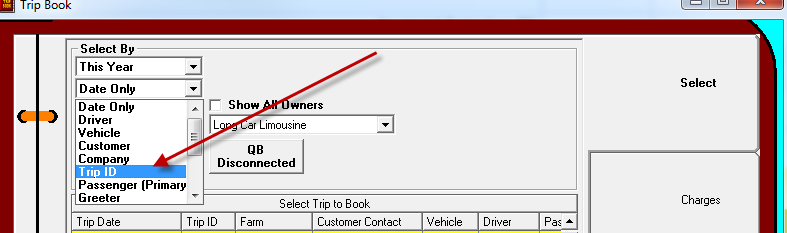
When you first open Trip Book, it defaults to the Select tab, so you can pick the trip you want to process. The selection criteria can be changed in the drop down box—many people pick Trip ID so they can then type in each trip as they pick up the paperwork. But you can also pick whatever you like—maybe you need to close all the trips billed to a particular account because the client needs the bill.
Another feature that people sometimes overlook is the fact that the columns can be sized and arranged…so, for example, if you want the TripID, Vehicle, and Driver all the way to the left—just drag the columns where you want them.

Once you select the job you want to close, review the charges tab, review the driver pay tab, and click process…what happens? Does the system automatically select the next job, forcing you to click back on the Select tab so you can pick the one you want?
If so, this is easy to change. When Trip Book is showing the Select tab, click on the “Save Grid/Tab” button. Then the system will remember (for your userID) that, after processing a trip, you want it to go back to the “Select” tab. (Note that if you click this button while on the Charges, Commissions, or Driver Pay tab, it will then show that tab for the next selected trip).
If so, this is easy to change. When Trip Book is showing the Select tab, click on the “Save Grid/Tab” button. Then the system will remember (for your userID) that, after processing a trip, you want it to go back to the “Select” tab. (Note that if you click this button while on the Charges, Commissions, or Driver Pay tab, it will then show that tab for the next selected trip).