Rates - Hiding Zone Profiles
As we know, Zone Profiles are where all your flat rates (zone pricing) are stored. While the zone profiles can be named anything you want, typically people name them based on the vehicle type (e.g. Sedan, SUV, etc.)
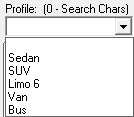
Depending on how you name your profiles, they may not initially appear in the desired order. When you initially create the zone profiles, they will appear in the drop-down selection area in a reservation alphabetically.
Depending on how you name your profiles, they may not initially appear in the desired order. When you initially create the zone profiles, they will appear in the drop-down selection area in a reservation alphabetically.
Often, such as in this example, you may want them to appear in a different order—for example, you may want Sedan first (since that’s used the most), then SUV, then Limo 6, Van, and Bus at the bottom.
In order to accomplish this in Livery Coach, simply open Maintenance and navigate to Maintain…Zone Rates.
Once there, notice that there is a column titled “Usage %”, and there is a way at the bottom to set the Usage % for each profile.
In order to accomplish this in Livery Coach, simply open Maintenance and navigate to Maintain…Zone Rates.
Once there, notice that there is a column titled “Usage %”, and there is a way at the bottom to set the Usage % for each profile.
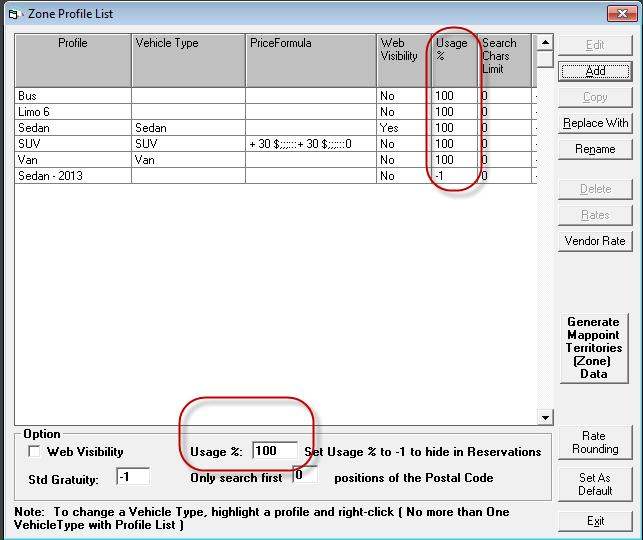
The system is programmed so that the profiles appear in the order based on the usage % that you set (e.g. a sort order), from 100% down to 0%. (You can also set a usage % to “-1” and that profile will disappear from the selection window in the Pickup/Dropoff screen completely).
To set the “Usage %”, simply highlight the desired profile and change the Usage % in the bottom window. The effect is immediate—so once you set one, be sure you are on the desired profile before you set the 2nd. To avoid a lot of renumbering later, I like to leave a gap between each profile so there is room in between—for example, I would set my profiles to 100, 90, 80, etc. So later if I add a new one that I want to fit in between existing profiles, it’s easy to make it, say, “85” without renumbering everything. Here is a screen shot of the profiles renumbered (note the new sort order):
To set the “Usage %”, simply highlight the desired profile and change the Usage % in the bottom window. The effect is immediate—so once you set one, be sure you are on the desired profile before you set the 2nd. To avoid a lot of renumbering later, I like to leave a gap between each profile so there is room in between—for example, I would set my profiles to 100, 90, 80, etc. So later if I add a new one that I want to fit in between existing profiles, it’s easy to make it, say, “85” without renumbering everything. Here is a screen shot of the profiles renumbered (note the new sort order):
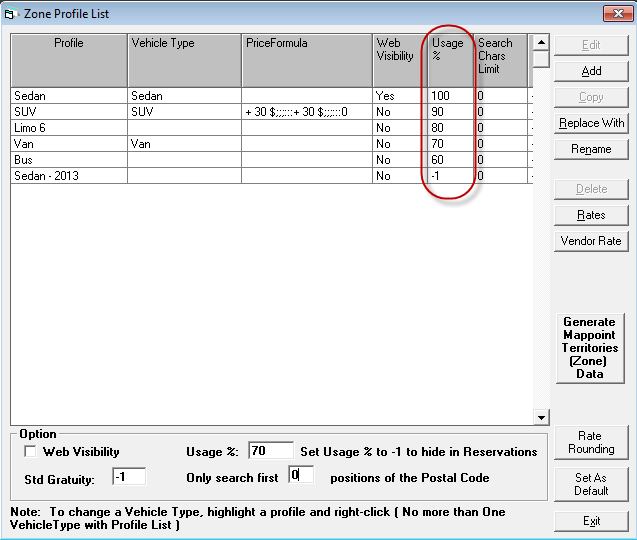
Also notice that “Sedan – 2013” is set to “-1” so it appears at the bottom here. It will not show up at all in Reservations. This is a good way to hide an old profile that still exists on some future reservations but which you no longer want used—or a way to hide your new rates while you are working on them, before they go into effect.
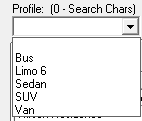
Now, when selecting a profile in a reservation, the profiles will appear in the desired order.
Now, when selecting a profile in a reservation, the profiles will appear in the desired order.