Contact Record - Address History
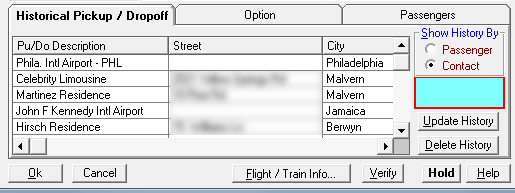
When you book a trip and get to the screen where you enter the routing, there is a history of previous places that the booker (or passenger) has been to. Note that you can “Show History By” either Passenger or Contact, by checking the appropriate button.
How does this data get there? Every time a trip is booked and then archived (processed in TripBook), it creates history in all the contacts associated with that trip (the booker and passengers).
Over time, especially if minor changes are made to the routing, some profiles can become cluttered with near-duplicates of the same place. Also, if a customer moves, you might want to delete the references to his or her old address in the profile.
While there was always the ability to delete historical entries in the Pickup/Dropoff screen while booking a trip, this can be tedious and slow.
The faster way is to edit all the address history directly from the contact, using the MultiEdit button.
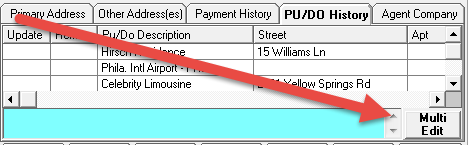
When a profile is open, click on the PU/DO History tab to access the Pickup/Dropoff address history.
Over time, especially if minor changes are made to the routing, some profiles can become cluttered with near-duplicates of the same place. Also, if a customer moves, you might want to delete the references to his or her old address in the profile.
While there was always the ability to delete historical entries in the Pickup/Dropoff screen while booking a trip, this can be tedious and slow.
The faster way is to edit all the address history directly from the contact, using the MultiEdit button.
When a profile is open, click on the PU/DO History tab to access the Pickup/Dropoff address history.

Once the tab is highlighted, click on the Multi Edit button.
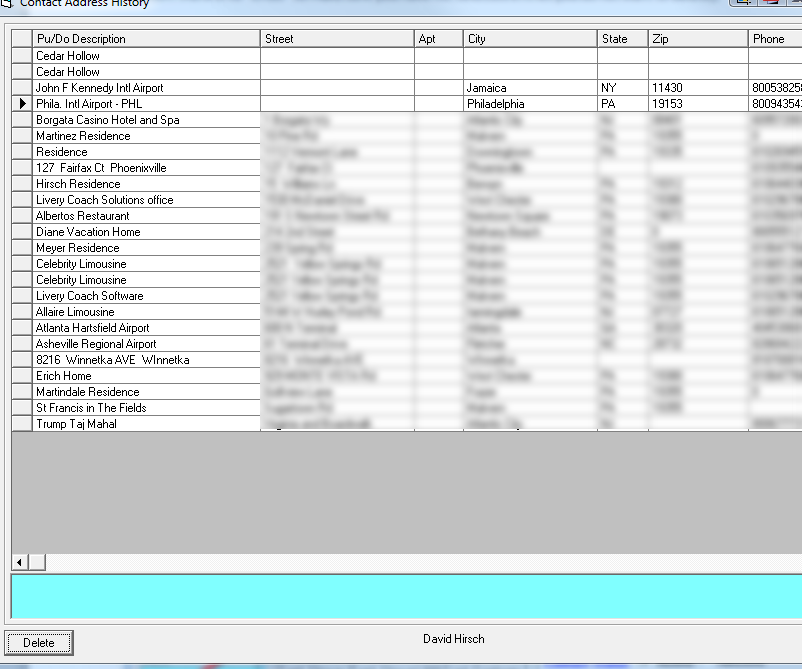
This will open up a much larger window where it’s easier to edit or delete entries.
To edit an entry, simply select the cell and make the changes. To save your changes, simply select another cell, and your changes to the previous cell will be saved.
To delete, highlight one or more rows (you can select multiple rows in the normal Windows method using the Shift or Control keys in conjunction with the mouse). Make sure the entire row is highlighted (click on the grey box to the left of the entries). Then click delete.
Caution: there is no “Undo” so make sure you have not selected entries you do not want to delete).
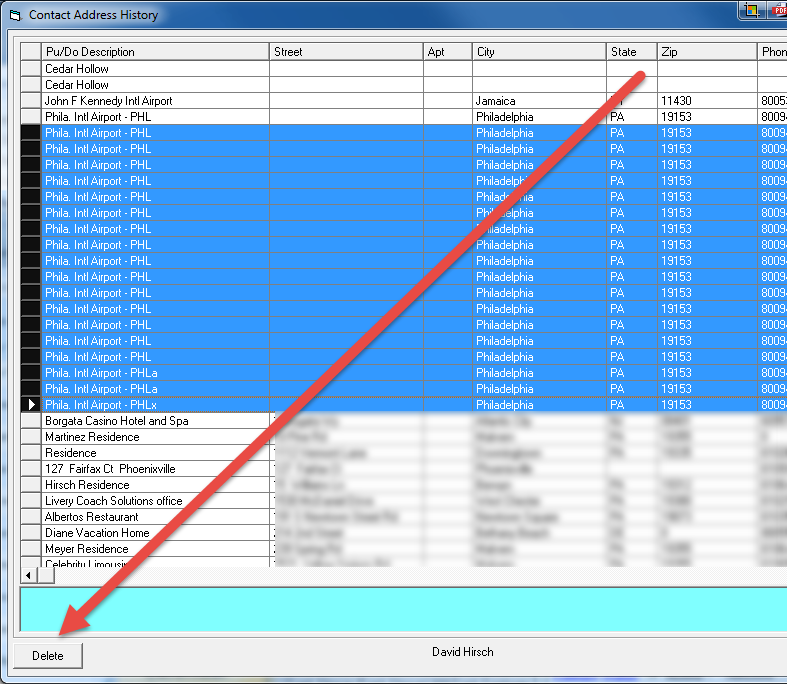
Results after deletion: